Pages

Sunday, April 14, 2013

Shaved Brussels Sprout and Kale Salad with Salted Almonds


I know, I know... brussels sprouts season is over and done with. For those of you that eat seasonally, you're probably sick to death of those miniature cabbages. You want ramps and asparagus and fava beans and I couldn't agree more. 

I actually made and photographed this salad months ago, but totally forgot about it up until now. This is definitely one of those salads that you want to add to your winter repertoire, so I figure why not blog about it now so you'll have it for next year. 

Serving brussels sprouts and kale raw, in a salad, may be new to some of you.  In fact, I've talked to many people that didn't even know you could eat either one without cooking them first.  When you're in the dead of winter and tender lettuces are nowhere to be found, thinly sliced kale and shredded brussels sprouts are your next best bet. You could probably toss the two with a little olive oil and lemon and have a simple side, but why not throw in some grated pecorino romano, salted almonds and serve with a lemony-dijon-shallot vinaigrette.  You could eat a large bowl of this on it's own for a light lunch or serve it in place of your typical dinner salad.

Brussels Sprout and Kale Salad with Salted Almonds
(Serves 8-10)
From Bon Appetit

1/4 c. fresh squeezed lemon juice
2 T. dijon mustard
1 T. minced shallot
1 clove garlic, finely grated
1/4 t. sea salt, plus more for seasoning
fresh ground black pepper
2 large bunches lacinato kale, stems removed, thinly sliced
12 oz. brussels sprouts, trimmed, finely grated or shredded with a knife
1/2 c. extra virgin olive oil, divided
1/3 c. raw almonds, coarsely chopped
1 c. grated pecorino romano

Combine lemon juice, dijon mustard, shallot, garlic, sea salt and black pepper in a bowl. Place shredded brussels sprouts and kale in a large bowl.
Measure 1/2 c. olive oil in a cup. Spoon 1 T. oil into a small skillet and heat over medium high heat.  Add the almonds and stir frequently until golden brown in spots, about two minutes. Transfer almonds to a plate lined with paper towels and sprinkle lightly with salt.
Slowly whisk remaining olive oil into the lemon juice mixture. Season with salt and pepper.
Add dressing and cheese to kale mixture and toss to coat. Season lightly with salt and pepper and top with salted almonds.

Sunday, March 24, 2013

Creamy Polenta with Sausage, Spinach and Pecorino


March is such a teaser month.  Temperatures may fluctuate anywhere between the 20's to the 60's.  One day it could be snowing and the next people are walking around in shorts and tank tops. The change in the weather and the arrival of spring always gets me amped up for all of the new vegetables that will be coming our way soon, like asparagus, fennel and artichokes.  I begin to crave salads, cold noodle dishes and spring rolls instead of soups, stews and hot tea. 
As much as I'm ready to start eating lighter, the temperatures haven't gotten much above the 30's for the greater part of the month.  So, until I'm able to wear any less than three layers outside, I'm still sticking with comfort foods to get me through this last bout of cold weather. 

Polenta is one of the foods that I always have in the cupboard for a quick meal.  With the addition of a little butter and cheese, it is transformed into a creamy base that goes with just about anything! I'm a big fan of topping my polenta with sauteed greens and a poached egg, or a sautee of wild mushrooms or come summer time, stirring in a drizzle of pesto and topping with roasted vegetables like red pepper, fennel and zucchini.  It's a great meal to make when you have little odds and ends in your fridge that you're not quite sure what to do with, which is exactly what I did this time around.

I had very few things to work with other than a bag of spinach, some spicy sausage links and a small hunk of pecorino romano.  My first intuition was to throw these together with pasta but since I ate an entire baguette doused in olive oil for lunch, I decided to cut back on the wheat and make it gluten free with some polenta, and it totally hit the spot.

Creamy Polenta with Sausage, Spinach and Pecorino
Serves 2-4

Creamy Polenta:
1 c. polenta
4 1/2 c. vegetable broth
3 T. butter
1/2 c. grated pecorino romano cheese, plus more for serving
sea salt, to taste
black pepper, to taste

3 links hot Italian sausage, casings removed, cut into small pieces
1/2 lb. spinach
3 cloves garlic, minced
2 T. extra virgin olive oil, divided

1/4 c. chopped flat leaf parsley

Place vegetable broth in a medium sized heavy bottomed pot. Bring to a boil and slowly whisk in polenta. Reduce the heat to a simmer and cook polenta for about thirty minutes, whisking every couple of minutes to prevent it from clumping up or sticking.  When the polenta is soft and creamy, whisk in the cheese and butter and season with salt and pepper to taste. Reduce the heat to low while you prepare the sausage and spinach.

Heat 1 T. extra virgin olive oil in a large skillet over medium high heat.  Add the sausage and cook until cooked through and browned on the outside. Transfer to a paper towel to drain excess oil.  Wipe out the pan and heat the other tablespoon of oil over medium heat.  Add the garlic and spinach and cook just long enough for the spinach to collapse.  Season with salt and pepper.

Before serving, give the polenta a good stir (if it has thickened up too much, you can thin it out a bit with more vegetable broth). Divide the polenta evenly between shallow bowls. Top with the sauteed spinach, sausage parsley and an extra dusting of pecorino romano.

Tuesday, March 19, 2013

Whole Wheat Bacon Fat Dog Biscuits


I first started this blog with the intention of having it be strictly vegetarian.  Although I ate fish and turkey on occasion, the world of pork and beef was unbeknownst to me.  Not a bite had passed my lips in over fifteen years and I never thought I would be eating, let alone cooking meat anytime in the near future.

About six months ago I was dining in Manhattan and decided then and there that I was going to eat pork.  I don't know why all of a sudden, at that moment the idea sounded so appealing, but I decided to go with it and I would either love it or hate it.  I didn't go all out and order a steak or ribs or a porkchop but instead eased into it slowly with a wood fired pizza topped with broccoli rabe, fresh mozzarella and spicy sausage.

...It was hands down, one of the top ten meals I've ever had.

Over the past six months, I've s-l-o-w-l-y incorporated meat into my diet. I would go out for an occasional grassfed burger or buy a package of local sausage links or some maple smoked bacon. I've made some dang tasty grub featuring these foods but for some reason didn't feel comfortable blogging about it since 95% of my blog is vegetarian (I've featured fish in a couple posts) and I didn't know if I would lose an audience of vegetarian readers if I decided to start blogging about meat.

...and then I got over it....

The tagline of my blog is, "tasty whole foods cuisine" and I think meat (if raised in slaughtered in a sustainable way) fits the bill... in moderation. So, from here on out, some of my posts may feature fish, chicken, beef or pork... or seaweed, kale, pomegranates or sweet potatoes. I can guarantee that whatever I choose to post gets my stamp of approval and tastes delicious.

Although I can't vouch for the following recipe since I didn't actually TRY them myself, my dogs absolutely love the bacon fat dog biscuits that I made for them.  I always have leftover grease from cooking bacon, and never felt the desire to do anything with it myself, so I decided to make my little pooches a tasty little treat that was free from all of the crap that is usually found in any of the ones you would buy at the petstore.

Although they may not be as healthy as carrot sticks and kale stems, these little biscuits are something that you can feel good about giving your furry friends.

Whole Wheat Bacon Fat Dog Biscuits
From The Kitchn

1/2 c. melted bacon fat
1 1/2 c. whole wheat flour
1/2 c. wheat germ
1 egg
1/2 c. cold water

Preheat oven to 350 degrees. Combine all the ingredients in a large bowl and mix until a dough is formed. Tear off a sheet of parchment paper and lay on a flat surface. Sprinkle with flour and roll out the dough to 1/4" thickness. Transfer to a large baking sheet and score with a pizza cutter or butter knife into desired shapes/size. Poke small holes (I think this is more for decoration) with the end of a chopstick.  Bake for 20 minutes, break apart and flip the biscuits over.  Return the biscuits to the oven and turn off the heat.  Let sit for 20-30 minutes to allow them to crisp up a bit.  Store in an airtight container.


Monday, March 18, 2013

Nori-Nettle Gomasio


Years ago, when I lived in California, I used to hit up the farmers markets at least twice a week.  The Bay Area was a food lovers paradise.. the growing season gave you tender lettuces in February, tomatoes in March and basil in January.  In addition to the variety of fruits and vegetables to choose from year round, there was always a handful of locals selling homemade goods ranging from kombucha to goat cheese, to kimchi.  At the tail end of the market was an older woman sporting dreadlocks and a smile that was contagious. She harvested her own seaweed and sold an amazing gomasio.

Gomasio is a Japanese condiment consisting of unhulled sesame seeds and sea salt. It's great sprinkled over a salad or rice or over steamed vegetables, basically anywere you want a bit of salt and crunch.  The woman at the farmers market (she had some hippy name like Rainbow or Moonbeam or something), took a basic gomasio recipe and added dried nettles and nori and sold it in little baggies for like, five bucks.  I quickly became addicted to the stuff, not only because it was delicious, but I knew that everytime I sprinkled a little of her magic fairy dust on my quinoa and steamed greens I was doing my body a big favor in the health department.

Sesame seeds are high in calcium, magnesium, iron, B vitamins and fiber.  Nori (a dried seaweed) is also rich in B vitamins as well as vitamin A and E and contains more vitamin C than oranges. It is rich in iodine, a trace mineral that stimulates the thyroid to produce hormones required for metabolism and keeps hair, nails and skin looking their finest! Nettles are one of those "super herbs" used to treat anything and everything. It's a slow acting nutritive herb that gently cleanses the body of metabolic wastes. It has a gentle, stimulating effect on the lymphatic system, enhancing the excretion of wastes through the kidneys.  It is rich in iron, vitamin C and calcium, making it a great herb for women to prevent anemia and keep bones strong without the use of dairy products. It is commonly used for people that suffer from seasonal allergies, can help alleviate joint and muscle pain, increases circulation and purifies the blood.

... Not to bad for a simple condiment.

Nori Nettle Gomasio

3 sheets nori
6 T. unhulled sesame seeds
1 T. black sesame seeds (opt)
3 T. dried nettles
1/2 t. sea salt

Cut nori into small pieces.  Place in a spice grinder and pulse a couple times to break it down.  Transfer to a bowl and add the remaining ingredients, except the salt.  Working in batches, transfer to the mixture to the spice grinder and pulse until the nori and nettles are powdery and the sesame seeds are broken down a bit ( I did mine in two batches). Place in a bowl and stir in salt.  Store in an airtight container.

Sunday, March 3, 2013

Honey Butter Popcorn


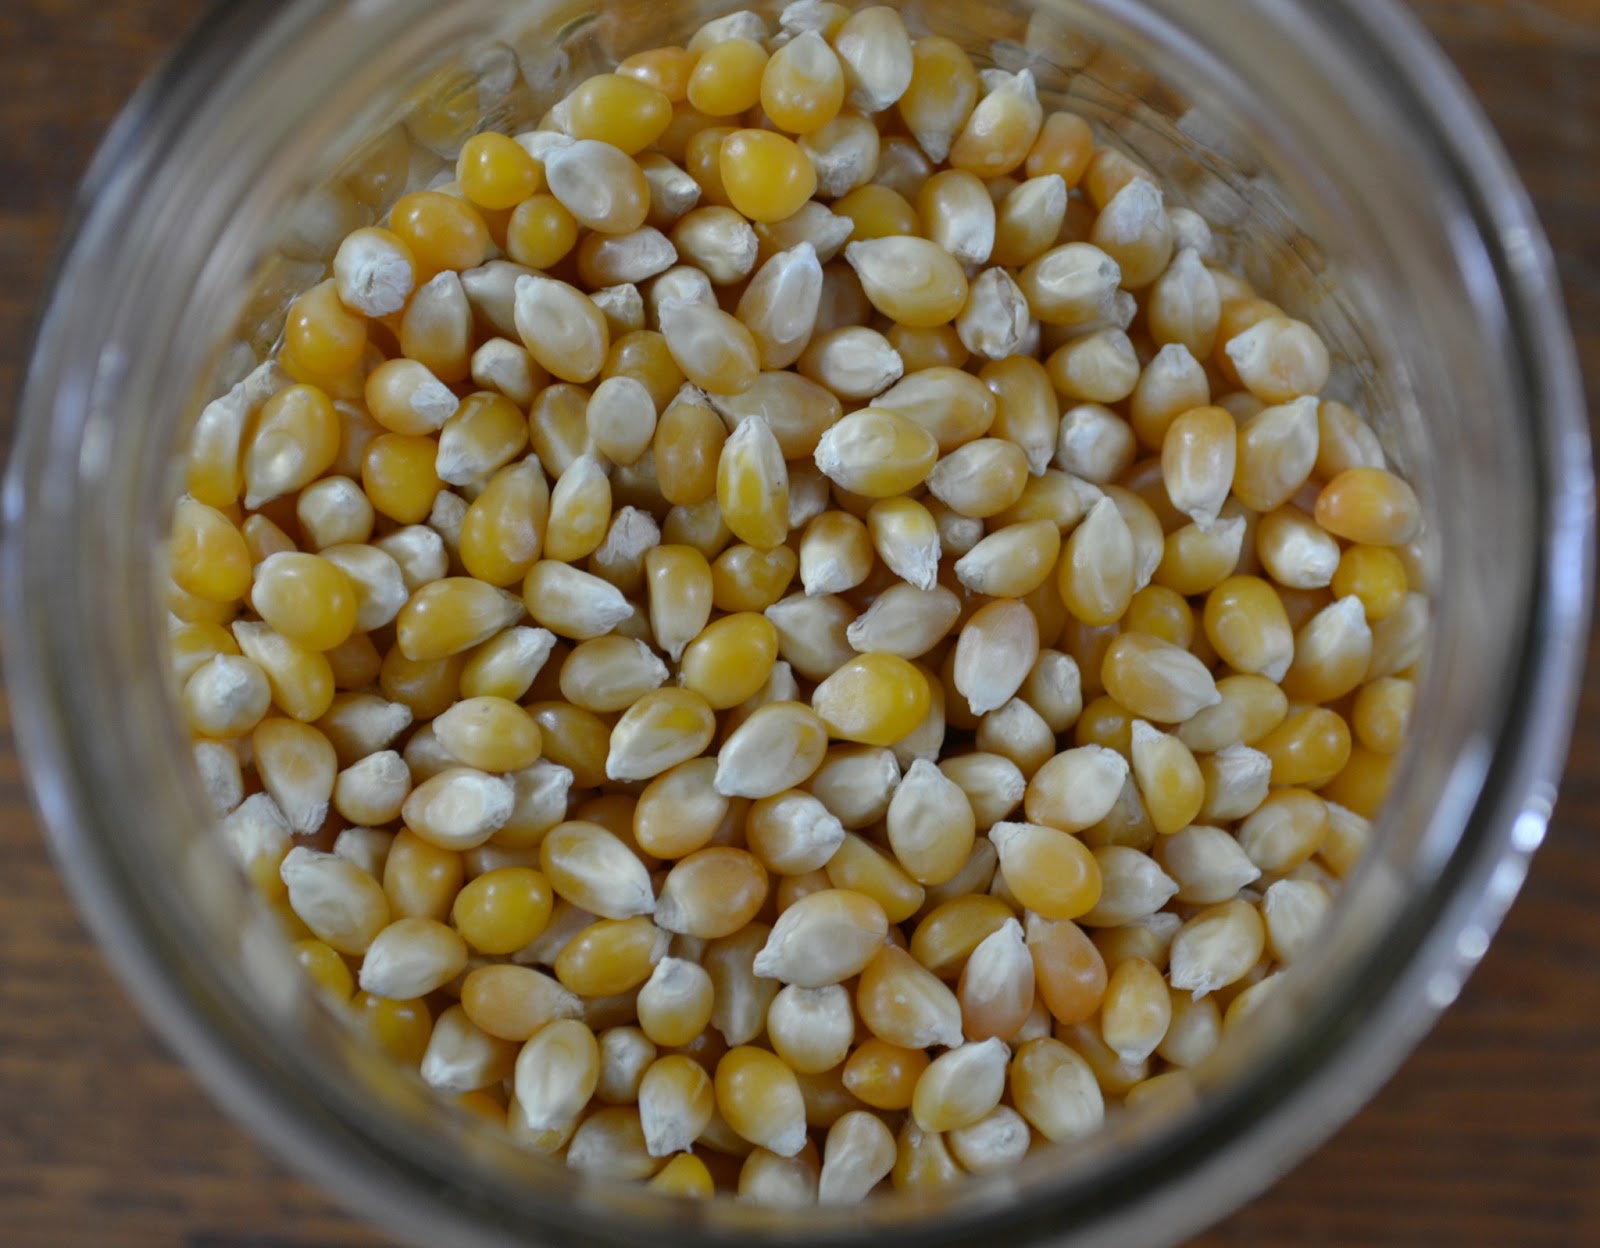
Popcorn has to be, hands down one of my top ten favorite foods. It's cheap, full of fiber and can be thrown together in minutes, making a great snack or dinner option when I'm not that hungry but still want a little sumpthin' to munch on.  As much as I love the traditional butter/salt combo, I usually drizzle my popcorn with a healthier fat like flax, hempseed, or a nice extra virgin olive oil.  When it comes to toppings, I'm a huge fan of nutritional yeast flakes and sea salt. Nutritional yeast is an inactive yeast that has a nutty, cheesy flavor and as a bonus is high in protein and B vitamins.

To switch things up a bit, I'm always looking for new ways to flavor my popcorn.  Some of my favorite combinations include:
Truffle oil and parmesan cheese
Toasted sesame oil, sesame seeds and dulse or nori flakes (dried seaweeds)
Olive oil and zaatar (a blend of sesame seeds, sumac, oregano, thyme, marjoram and sea salt)
Coconut oil and curry powder

I've heard of people topping their popcorn with butter, cinnamon and sugar and the idea has never really done it for me.  When I make popcorn, it's usually because I need salt and fat, and lots of it. I recently came across a recipe for honey butter popcorn and decided to leave my comfort zone and give it a whirl.

Let's just say I've made this three times in the past week and it just might be my new favorite snack when I want something on the sweet side and there isn't a single thing in the house other than popcorn, coconut oil, honey and salt (this is only a SLIGHT exaggeration). 


This combination has everything you could want in a snack: fat, sugar, salt and crunch.

Need I say more?

Honey Butter Popcorn
From Food Loves Writing
http://foodloveswriting.com/2013/01/15/melissa-colemans-honey-butter-popcorn/

2 tablespoons coconut oil 

1/2 cup organic popcorn kernels 
2 tablespoons butter, melted
2 tablespoons raw honey 

sea salt to taste

Melt coconut oil in a large stockpot with a lid. Place two kernels of unpopped corn in the pot and cover it. Once you hear the kernels pop, take off the lid and add the 1/2 cup kernels. Put the cover back on and shake the pot. Cook over medium heat, shaking the pot again once or twice, until all you stop hearing popping sounds (about five minutes or so).

Meanwhile, in a small saucepan, melt the butter, honey and a pinch of salt over low heat. When the popcorn kernels stop popping, turn off the heat. Transfer popcorn to a large bowl and toss with the honey-butter mixture.

Saturday, February 9, 2013

Cheesy Kale Chips


Apparently, kale is the new bacon. 

I can remember when kale was used primarily as a garnish to add a little pop of color to a monochromatic plate of food.  Now kale is EVERYWHERE! Whether it be in the form of a raw kale salad, chopped up and thrown into fritters, juiced with fruit and other green vegetables, or made into crispy, crunchy kale chips, kale is the new "it" food.

I've been on the kale bandwagon for years and am always looking for more ways to incorporate more of it my diet since it's so dang good for you.  I know, I know..it seems like everybody is blogging about kale chips these days, some foodies even going so far to say that this food trend is soooo 2011.

Whatever, I've done it before and I'll do it again because following trends has never been my thang.

Whenever I've made kale chips in the past, I've kept the recipe simple: a little olive oil, some lemon juice, sea salt and maybe a touch of honey to balance out the acidity.  This time around I wanted something with a little more flavor, so after a bit of blog surfing I found a recipe that involved miso, olive oil, garlic, dulse flakes, and nutritional yeast which gives the chips a salty, cheesy flavor. 

Some of you new to the land of hippy food may not know what alot of these ingredients are so let me break it down.

Miso is a thick paste made from fermented soybeans that has a very salty flavor.  It is an enzyme rich food containing probiotics, B vitamins, and all essential amino acids making it a complete protein.  It is most commonly used to make soup, but can be used to make dips, dressings or sauces.

Dulse is a sea vegetable or more precisely, a red seaweed that is is high in protein, fiber, B vitamins and iron.  It has a salty, oceanic flavor and can be used in soups or salads, or ground into flakes and used as a condiment.

Nutritional Yeast is a deactivated yeast that comes in the form of yellow flakes or powder that has a nutty, cheesy flavor.  It can be used to make cheese sauces or sprinkled on popcorn.  It is a good source of B vitamins, especially vitmain B12 and is low in fat, sodium and is free from dairy, sugar and gluten.

I had to resist the temptation to eat the entire batch in one sitting because they do have quite a bit of salt from the miso paste,  but a handful along side a sandwich instead of potato chips is a great way to incorporate greens, B vitamins and protein into your diet.

Cheesy Kale Chips
Slightly adapted from Nourished Kitchen

1 bunch curly kale, destemmed torn into bite sized pieces
1/3 c. mellow white miso paste
1 small clove garlic minced
1/8 t. sea salt
1/3 c. nutritional yeast flakes
2 t. dulse flakes
2 T. extra virgin olive oil

In a food processor, combine the miso, garlic, sea salt, nutritional yeast, dulse and olive oil and blend until it turns into a smooth paste.
Working in batches, place kale in a large mixing bowl and massage with the miso mixture so it adheres to the leaves.
Layer the kale on food dehydrator trays and dehydrate at 125 degrees until crispy, about 12 hours.


Tuesday, February 5, 2013

Paneer and Winter Squash Coconut Curry


It's official.  I'm ready for summer.

Living in upstate New York, I'm looking at another 92 days until I don't have to wear 12 layers just to walk my dogs around the block.

In addition to dealing with freezing temperatures almost every day for the past two weeks, I've had not one but two colds in the past MONTH.  Why? Because I work at a health food store and make juices for other sick people that SHOULD be wearing surgical masks and coughing into their elbows instead of breathing all over me and my already weakened immune system.

On the other hand, winter time does has it advantages, like sledding, bourbon and comfort food.

The thought of eating a salad isn't too appealing this time of the year, so stews, soups and curries have been in high rotation.  Although winter squash is beginning to fade out of season, butternut squash is still available at the markets and I've been using it in everything from pizza to soup to this here coconut curry.

It's creamy, hot, and delicious and will (if only for a split second) make you hate winter just a little bit less.


Paneer and Winter Squash Coconut Curry (serves 2-4)

4 c. peeled, winter squash (I used butternut), cut into 1 inch cubes
6 oz. paneer, cut into 1/2 inch cubes
3 T. sunflower oil (or any other neutral oil), divided
1 T. coconut oil
1 small onion, diced
3 T. ginger, minced
2 large cloves garlic, minced
1/2 t. mustard seeds
1/2 t. cumin seed
1/2 t. turmeric
3/4 t. curry powder
1/2 t. sea salt, plus more to taste
1 15 oz. can coconut milk

Preheat the oven to 400 degrees. Place squash in a bowl and drizzle with 1 1/2 T. of the sunflower oil. Sprinkle with sea salt and spread on a sheetpan. Bake for 20 minutes or until fork tender.
Meanwhile, heat the remaining 1 1/2 T. sunflower oil in a skillet over medium heat.  Add the paneer in a single layer and cook for a couple minutes on each side until very lightly browned. Transfer to a plate lined with paper towels to absorb any excess oil. 
Using the same skillet, heat the coconut oil over medium heat.  Add the cumin and mustard seeds and cook for a couple minutes, until the seeds start to sizzle.  Add the onion and turmeric and cook until the onion is softened, about 3-4 minutes.  Add the ginger and garlic and cook for a couple more minutes.  If the mixture starts to stick, add a splash of water and give it a stir.  
Add the coconut milk, sea salt and curry powder and cook until the coconut milk comes to a boil. Add the butternut squash, cover, reduce the heat and let simmer for five minutes.  Stir in the paneer and cilantro and heat through for another minute or so.

Serve hot with rice.