Pages

Sunday, March 3, 2013

Honey Butter Popcorn


Popcorn has to be, hands down one of my top ten favorite foods. It's cheap, full of fiber and can be thrown together in minutes, making a great snack or dinner option when I'm not that hungry but still want a little sumpthin' to munch on.  As much as I love the traditional butter/salt combo, I usually drizzle my popcorn with a healthier fat like flax, hempseed, or a nice extra virgin olive oil.  When it comes to toppings, I'm a huge fan of nutritional yeast flakes and sea salt. Nutritional yeast is an inactive yeast that has a nutty, cheesy flavor and as a bonus is high in protein and B vitamins.

To switch things up a bit, I'm always looking for new ways to flavor my popcorn.  Some of my favorite combinations include:
Truffle oil and parmesan cheese
Toasted sesame oil, sesame seeds and dulse or nori flakes (dried seaweeds)
Olive oil and zaatar (a blend of sesame seeds, sumac, oregano, thyme, marjoram and sea salt)
Coconut oil and curry powder

I've heard of people topping their popcorn with butter, cinnamon and sugar and the idea has never really done it for me.  When I make popcorn, it's usually because I need salt and fat, and lots of it. I recently came across a recipe for honey butter popcorn and decided to leave my comfort zone and give it a whirl.

Let's just say I've made this three times in the past week and it just might be my new favorite snack when I want something on the sweet side and there isn't a single thing in the house other than popcorn, coconut oil, honey and salt (this is only a SLIGHT exaggeration). 
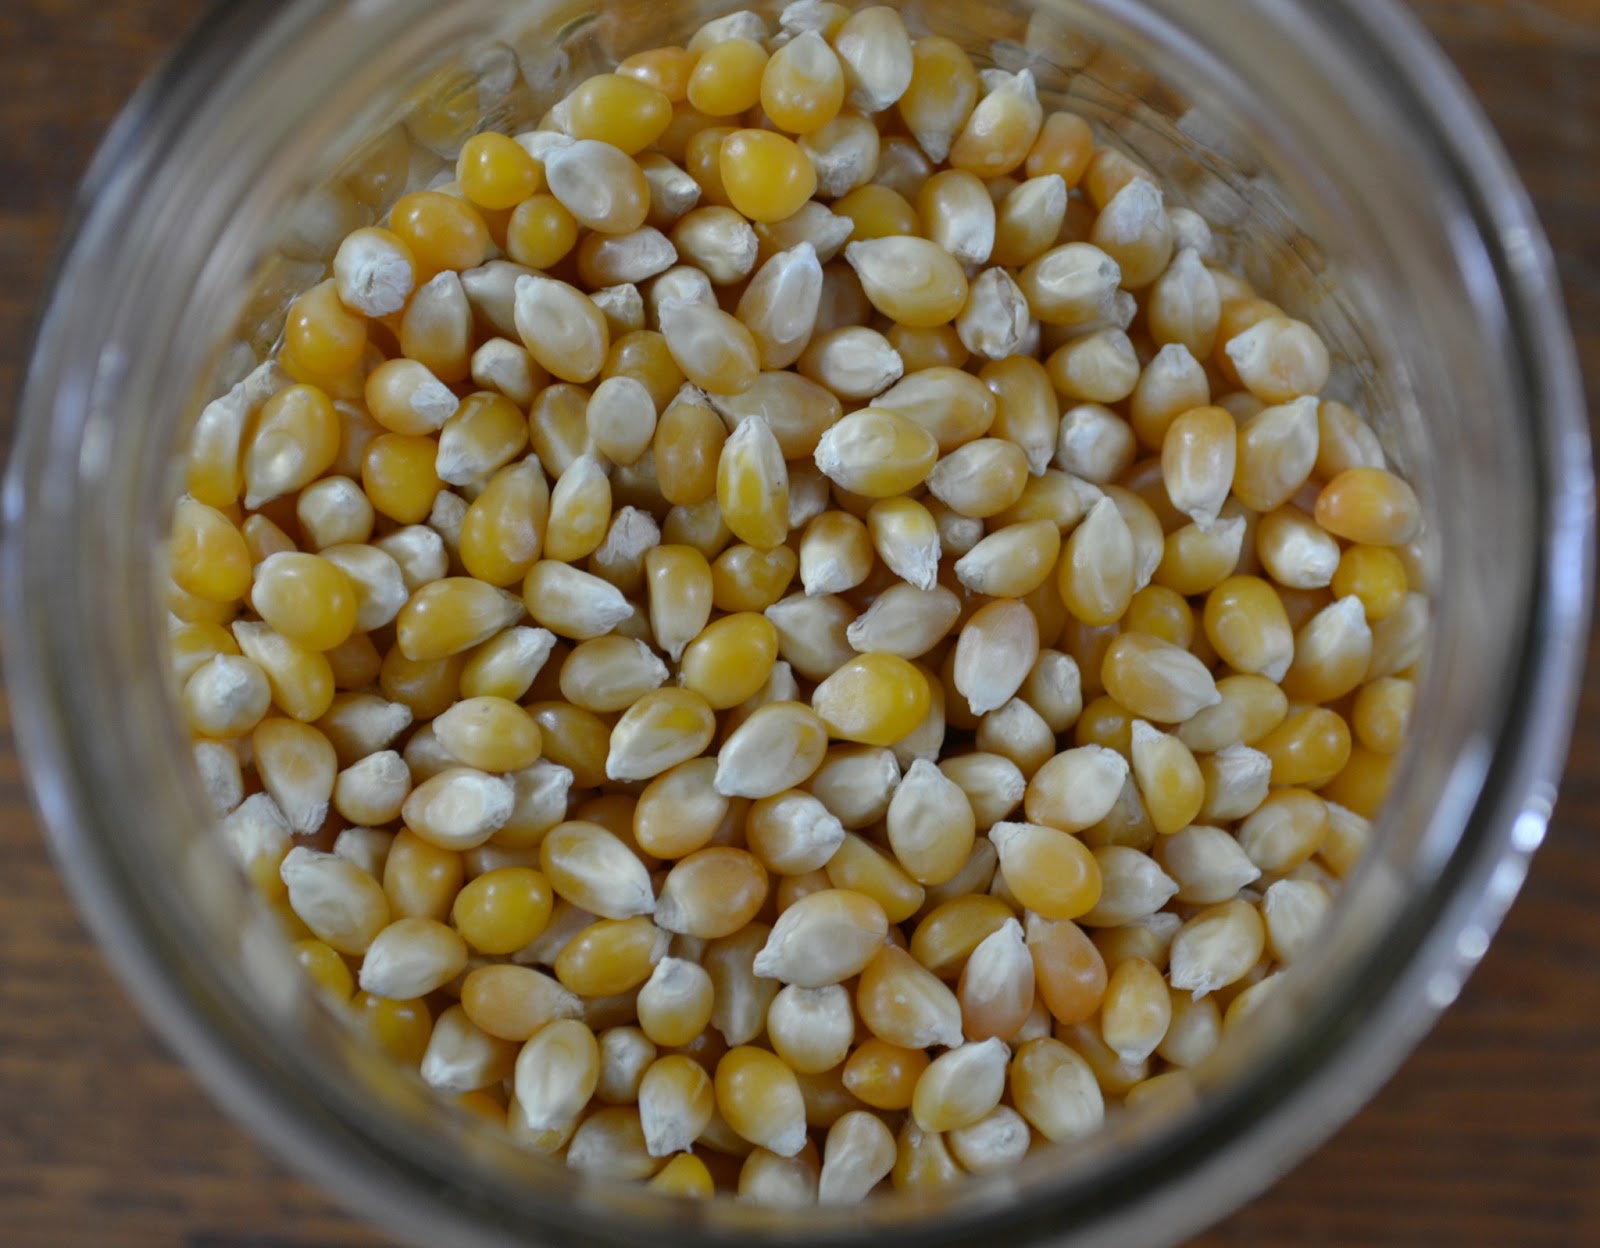


This combination has everything you could want in a snack: fat, sugar, salt and crunch.

Need I say more?

Honey Butter Popcorn
From Food Loves Writing
http://foodloveswriting.com/2013/01/15/melissa-colemans-honey-butter-popcorn/

2 tablespoons coconut oil 

1/2 cup organic popcorn kernels 
2 tablespoons butter, melted
2 tablespoons raw honey 

sea salt to taste

Melt coconut oil in a large stockpot with a lid. Place two kernels of unpopped corn in the pot and cover it. Once you hear the kernels pop, take off the lid and add the 1/2 cup kernels. Put the cover back on and shake the pot. Cook over medium heat, shaking the pot again once or twice, until all you stop hearing popping sounds (about five minutes or so).

Meanwhile, in a small saucepan, melt the butter, honey and a pinch of salt over low heat. When the popcorn kernels stop popping, turn off the heat. Transfer popcorn to a large bowl and toss with the honey-butter mixture.

Saturday, February 9, 2013

Cheesy Kale Chips


Apparently, kale is the new bacon. 

I can remember when kale was used primarily as a garnish to add a little pop of color to a monochromatic plate of food.  Now kale is EVERYWHERE! Whether it be in the form of a raw kale salad, chopped up and thrown into fritters, juiced with fruit and other green vegetables, or made into crispy, crunchy kale chips, kale is the new "it" food.

I've been on the kale bandwagon for years and am always looking for more ways to incorporate more of it my diet since it's so dang good for you.  I know, I know..it seems like everybody is blogging about kale chips these days, some foodies even going so far to say that this food trend is soooo 2011.

Whatever, I've done it before and I'll do it again because following trends has never been my thang.

Whenever I've made kale chips in the past, I've kept the recipe simple: a little olive oil, some lemon juice, sea salt and maybe a touch of honey to balance out the acidity.  This time around I wanted something with a little more flavor, so after a bit of blog surfing I found a recipe that involved miso, olive oil, garlic, dulse flakes, and nutritional yeast which gives the chips a salty, cheesy flavor. 

Some of you new to the land of hippy food may not know what alot of these ingredients are so let me break it down.

Miso is a thick paste made from fermented soybeans that has a very salty flavor.  It is an enzyme rich food containing probiotics, B vitamins, and all essential amino acids making it a complete protein.  It is most commonly used to make soup, but can be used to make dips, dressings or sauces.

Dulse is a sea vegetable or more precisely, a red seaweed that is is high in protein, fiber, B vitamins and iron.  It has a salty, oceanic flavor and can be used in soups or salads, or ground into flakes and used as a condiment.

Nutritional Yeast is a deactivated yeast that comes in the form of yellow flakes or powder that has a nutty, cheesy flavor.  It can be used to make cheese sauces or sprinkled on popcorn.  It is a good source of B vitamins, especially vitmain B12 and is low in fat, sodium and is free from dairy, sugar and gluten.

I had to resist the temptation to eat the entire batch in one sitting because they do have quite a bit of salt from the miso paste,  but a handful along side a sandwich instead of potato chips is a great way to incorporate greens, B vitamins and protein into your diet.

Cheesy Kale Chips
Slightly adapted from Nourished Kitchen

1 bunch curly kale, destemmed torn into bite sized pieces
1/3 c. mellow white miso paste
1 small clove garlic minced
1/8 t. sea salt
1/3 c. nutritional yeast flakes
2 t. dulse flakes
2 T. extra virgin olive oil

In a food processor, combine the miso, garlic, sea salt, nutritional yeast, dulse and olive oil and blend until it turns into a smooth paste.
Working in batches, place kale in a large mixing bowl and massage with the miso mixture so it adheres to the leaves.
Layer the kale on food dehydrator trays and dehydrate at 125 degrees until crispy, about 12 hours.


Tuesday, February 5, 2013

Paneer and Winter Squash Coconut Curry


It's official.  I'm ready for summer.

Living in upstate New York, I'm looking at another 92 days until I don't have to wear 12 layers just to walk my dogs around the block.

In addition to dealing with freezing temperatures almost every day for the past two weeks, I've had not one but two colds in the past MONTH.  Why? Because I work at a health food store and make juices for other sick people that SHOULD be wearing surgical masks and coughing into their elbows instead of breathing all over me and my already weakened immune system.

On the other hand, winter time does has it advantages, like sledding, bourbon and comfort food.

The thought of eating a salad isn't too appealing this time of the year, so stews, soups and curries have been in high rotation.  Although winter squash is beginning to fade out of season, butternut squash is still available at the markets and I've been using it in everything from pizza to soup to this here coconut curry.

It's creamy, hot, and delicious and will (if only for a split second) make you hate winter just a little bit less.


Paneer and Winter Squash Coconut Curry (serves 2-4)

4 c. peeled, winter squash (I used butternut), cut into 1 inch cubes
6 oz. paneer, cut into 1/2 inch cubes
3 T. sunflower oil (or any other neutral oil), divided
1 T. coconut oil
1 small onion, diced
3 T. ginger, minced
2 large cloves garlic, minced
1/2 t. mustard seeds
1/2 t. cumin seed
1/2 t. turmeric
3/4 t. curry powder
1/2 t. sea salt, plus more to taste
1 15 oz. can coconut milk

Preheat the oven to 400 degrees. Place squash in a bowl and drizzle with 1 1/2 T. of the sunflower oil. Sprinkle with sea salt and spread on a sheetpan. Bake for 20 minutes or until fork tender.
Meanwhile, heat the remaining 1 1/2 T. sunflower oil in a skillet over medium heat.  Add the paneer in a single layer and cook for a couple minutes on each side until very lightly browned. Transfer to a plate lined with paper towels to absorb any excess oil. 
Using the same skillet, heat the coconut oil over medium heat.  Add the cumin and mustard seeds and cook for a couple minutes, until the seeds start to sizzle.  Add the onion and turmeric and cook until the onion is softened, about 3-4 minutes.  Add the ginger and garlic and cook for a couple more minutes.  If the mixture starts to stick, add a splash of water and give it a stir.  
Add the coconut milk, sea salt and curry powder and cook until the coconut milk comes to a boil. Add the butternut squash, cover, reduce the heat and let simmer for five minutes.  Stir in the paneer and cilantro and heat through for another minute or so.

Serve hot with rice.

Friday, January 25, 2013

Vegan Teff Spice Cookies


I don't know if it's the cold weather but I've been in severe hibernation mode.  Instead of hiking or engaging in any winter sports, my weekends have mostly been spent curled up with my dogs on the couch with blankets and tea and a massive pile of books that have been on my reading list since last summer. 

Sure, a hot cup of tea is great on it's own, but it's much better when accompanied by a little something sweet. Lately, I've been craving all sorts of cookies but instead of breaking out the butter, sugar and flour I try to keep things on the healthy side. When I was cleaning out my freezer the other day, going through various flours, nuts and frozen fruits, I came across a bag of teff flour that had been kicking around for a year or so, since my failed attempt at making injera, a spongy, yeast risen flatbread.  Since this was the only way I've ever seen teff used, I wondered if I could somehow incorporate it into a muffin, quickbread or cookie, because my injera making days were o-ver. Since teff is a gluten free grain, I wasn't sure if I could substitute it for all or part of the flour in any given recipe.

So, naturally I went on wikipedia and here's what I found...

Teff is a teeny tiny ancient grain native to Ethiopia that is packed with protein, calcium, iron and fiber. There are few different varieties that vary in color from light to dark. White teff has a chestnut like flavor while the darker varieties are more earthy reminiscent of hazelnuts. More common is red teff which has more iron and has gained popularity in recent years due to it's amazing nutritional profile.

In some recipes, it can be used to replace all the flour with the exception of baked goods that depend on gluten for struture (i.e. bread), in which case up to 25% teff flour can be substituted.  I happened to come across a recipe for a spiced teff loaf that looked pretty amazing but settled on a these teff spice cookies, due to the fact that they took less time to throw together and I already had everything on hand to make them.  Bonus.. they were vegan and gluten free, which somehow makes me think I can eat more of them without the calories going straight to my ass.

Teff Spice Cookies (Makes 1 dozen cookies)
Slightly adapted from Natural Noshing

1/4 c. + 1 T. unsweetened applesauce
1 t. chia seed meal (ground chia seeds)
3/4 c. teff flour
1/2 t. baking powder
1/2 t. ground ginger
1/2 t. ground cinnamon

small pinch ground cloves
1/8 t. sea salt
1/4 c. maple syrup
1 t. vanilla extract
1/2 c. peanut butter (or almond butter)


Preheat the oven to 350 F. Line a baking sheet with parchment paper.
In a small bowl, mix together the applesauce and chia seed meal and set aside.
In a medium mixing bowl, combine the teff flour, sea salt, spices, and baking powder and set aside. 
In a separate bowl, heat the peanut butter in a double boiler (a small glass bowl placed over a pot of simmering water) until softened, about a minute or so. Stir in the maple syrup, vanilla, and applesauce-chia mixture into the warm peanut butter.
Make a well in the dry ingredients and add the wet ingredients, then stir to combine.
Use a cookie scoop to portion the dough into 12 cookies and roll each one. Set them on the prepared cookie sheet about 1 1/2 inches apart from each other. Use the tines of a fork to press down the center of the cookie (optional, or you can slightly flatten). Bake for 10 – 13 minutes until the cookies are set, mine took 10 and a 1/2 minutes.
 *Make sure not to overbake, the cookies will be soft in the middle and chewy.
Store in an airtight container at room temperature or freeze.

Tuesday, January 15, 2013

Chai Tea Mix


This post goes out to my mom... a true chai addict, with the hopes that she will one day read this handy post and make a batch all by herself.

But...  I know my mom better and I've accepted the fact that it's probably never going to happen.

So for the rest of you die hard fans out there, I'm going to hook you up with a recipe for the most delicious chai tea mix... ever.

I recently did a post on how to make masala chai tea from scratch. It's super awesome.  But..... it's one of those things that takes a little advance planning (steeping spices in water for a period of time before adding your tea, milk and sweetner). This chai tea mix is one of those things that you can make a big 'ol batch of so when a craving hits, you can have a mug of hot, milky, spicy tea in less than ten minutes.

If you've ever prepared any type of curry you've most likely come across recipes that call for toasting and grinding whole spices before adding them to the final dish. Toasting spices in a dry pan or oven helps to release their essential oils and intensifies the flavor of the final dish.  The same logic applies to making chai.


Cinnamon sticks, fennel seeds, cardamom pods, coriander seeds, black and pink peppercorns and star anise are toasted in the oven for five minutes.  After the spices have cooled a bit, you're going to crush 'em up a bit (trying to cram a whole cinnamon stick in your tea bag isn't gonna work).  Then, all you have to do is stir it in to some black tea.  Ginger is commonly used in most chai tea blends, but using ground or fresh ginger was a little impractical in this preparation. The next best thing: crystalized ginger!  Chop it up and add it to the tea and spices and you have one badass jar of chai tea!


Chai Tea (makes approximately 12-16 teabags
From The Kitchn

12 green cardamom pods
1/2 teaspoon whole red peppercorns (optional)
1/2 teaspoon whole black peppercorns
1 tablespoon fennel seeds
1/2 teaspoon coriander seeds
1/2 teaspoon whole cloves and/ or star anise
1 4-inch cinnamon stick
3 tablespoons chopped candied ginger
1/2 cup loose black tea

Preheat oven to 350°
With a sharp knife, split the cardamom pods in half. Place in a pie tin along with the peppercorns, fennel, coriander, cloves and cinnamon. Toast in the oven for about 5 minutes, or until the spices are fragrant. Remove and cool.
Crush spices lightly with a rolling pin or in a mortar and pestle. You may have to crumble the cinnamon stick with your hands.
In a bowl, toss the spices, candied ginger and tea together until blended.


Brewing Instructions
tea for one
1 cup of water
1/2 cup of milk (I use almond milk)
1 tablespoon of Chai Mix placed into a tea bag
Honey to taste

Bring the water to a boil and add the teabag. Turn off the heat and let steep for about 5 minutes. Add the milk, turn on the flame and reheat until hot. Remove from heat, discard teabag, sweeten to taste, enjoy!


Friday, January 11, 2013

Chermoula Eggplant with Bulgar and Yogurt


Eggplant is soooo not in season right now, but when I saw the recipe for Chermoula Eggplant in Yotam Ottolenghi's beautiful new cookbook, Jerusalem, there was no way I could hold out until summer to make it.  Chermoula is a marinade used in North African cooking, usually used to flavor fish and meats but it is also a wonderful brushed over vegetables as well. This delicous marinade usually incudes preserved (pickled) lemon, fresh herbs, lemon juice, garlic, cumin, coriander and salt; the propotions and spices vary from region to region.

I love eggplant in all forms, grilled, fried or roasted to death and made into the ever popular dip, baba ganoush.  My husband on the other hand had a difficult time with the texture and has only ever really enjoyed it when fried and slathered with sauce and cheese to make eggplant parmesan.
Despite his fickle attitude towards eggplant I went ahead and made the recipe anyways...

The eggplant it brushed with a mixture of preserved lemon, olive oil, garlic, cumin, coriander, chili flakes and paprika then baked until tender.  A delicious bulgar pilaf studded with toasted slivered almonds, golden raisins and green olives with fresh herbs was spooned over the eggplant and served with a side of thick greek yogurt.

Although this was meant to be served as a meal on its own I felt like I needed something else to round out the dish.  I tossed some cauliflower with lots of spices, cumin, black pepper, turmeric, coriander, crushed red pepper, olive oil and breadcrumbs and roasted until crispy.

....and the husband approved...

Boom!

Chermoula Eggplant with Bulgar and Yogurt
From Jerusalem

2 cloves garlic, crushed
2 teaspoons ground cumin
2 teaspoons ground coriander
1 teaspoon chili flakes
1 teaspoon sweet paprika
2 tablespoons finely chopped preserved lemon peel (recipe below)
2/3 cup olive oil, plus extra to finish
2 medium eggplants
1 cup fine bulgur
2/3 cup boiling water
1/3 cup golden raisins
3 1/2 tablespoons warm water
1/3 ounce (2 teaspoons) cilantro, chopped, plus extra to finish
1/3 ounce (2 teaspoons) mint, chopped
1/3 cup pitted green olives, halved
1/3 cup sliced almonds, toasted
3 green onions, chopped
1 1/2 tablespoons freshly squeezed lemon juice
1-2 tablespoons extra virgin olive oil
1/2 cup Greek yogurt
Salt

1. Preheat oven to 400 degrees.

2. To make the chermoula, mix together in a small bowl the garlic, cumin, coriander, chili, paprika, preserved lemon, the olive oil, and 1/2 teaspoon salt.

3. Cut the eggplants in half lengthwise. Score the flesh of each half with deep, diagonal crisscross cuts, making sure not to pierce the skin. Spoon the chermoula over each half, spreading it evenly, and place the eggplant halves on a baking sheet, cut side up. Put in the oven and roast for 40 minutes, or until the eggplants are completely soft.

4. Meanwhile, place the bulgur in a large bowl and cover with the boiling water.

5. Soak the raisins in the warm water. After 10 minutes, drain the raisins and add them to the bulgur, along with the remaining oil. Add the herbs, olives, almonds, green onions, lemon juice and a pinch of salt and stir to combine. Taste and add more salt if necessary.

6. Serve the eggplants warm or at room temperature. Place 1/2 eggplant, cut side up, on each individual plate. Spoon the bulgur on top, allowing some to fall from both sides. Spoon over some yogurt, sprinkle with cilantro and finish with a drizzle of oil.

Thursday, January 10, 2013

Almond Meal Cookies with Coconut and Cacao Nibs


I'm usually not a huge fan of sweets, but once in awhile I get a fierce craving, which can easily be satisfied by some good quality dark chocolate or a couple dates stuffed with almond butter or a mug of hot cocoa.  When I'm feeling particularly energentic, I'll even bust out some cookies.  Sometimes I'll go all out and make something like triple chocolate chunk cookies.. the kind with a pound of butter and entirely too much sugar.. Paula Dean style. Most of the time, though, I like to use more nutrient dense ingredients in my sweet treats so I can enjoy them with a little less guilt.

Whether it's using coconut oil, chia seeds or dates to replace butter, eggs and sugar I'm always looking for ways to make things a little bit healthier.  Eating a cookie with butter, sugar and refined flour is going to make you feel way different than a cookie made with almond meal, coconut, eggs and raw cacao nibs.  Sure, the latter of the two might not taste AS decadent but it also won't give you that weighed down, spaced out feeling that often accompanies eating sweets.

I ran across this recipe in The Sprouted Kitchen Cookbook and instead of bookmarking it to make sometime in the near future I immediately preheated my oven and got to work. This was exactly my kind of cookie, mostly because I had everything in the kitchen to make it and it looked mad simple to throw together.

The base of these cookies consists of almond meal, an ingredient that is becoming more common in gluten free baking.  Almond meal is essentially finely ground almonds and when added to baked goods it adds a slightly sweet and nutty flavor.  Coconut flakes, muscovado sugar, coconut oil, an egg and some raw cacao nibs thrown in for crunch made these little cookies a great afternoon snack with a cup of tea or coffee.

Almond Meal Cookies with Coconut and Cacao Nibs (makes 20 cookies)
From The Sprouted Kitchen Cookbook

1 1/4 c. almond meal
1/4 c. cacao nibs
1/2 c. unsweetened shredded coconut
1/2 t. baking powder
1/4 t. sea salt
1/3 c. muscovado sugar
1 egg
3 T. coconut oil, melted
1/2 t. vanilla extract

In a large mixing bowl, stir together the almond meal, cacao nibs, coconut, baking powder, salt and sugar.
In another bowl, beat the egg very well until it is a uniform color and doubles in volume. Whisk in the coconut oil and vanilla extract.  Add the wet to the dry and and mix until just combined.  Put the bowl in the fridge and chill for at least 30 minutes, or up to overnight.

Preheat the oven to 375 degrees.  Using your hands, roll the chilled dough into balls no larger than one inch in diameter and place on a baking sheet with 1 1/2 inches of space between, giving them a gentle press on the tops to flatten just a bit. Bake until edges just begin to brown, 7 to 10 minutes. Remove from the oven and let cool before serving.